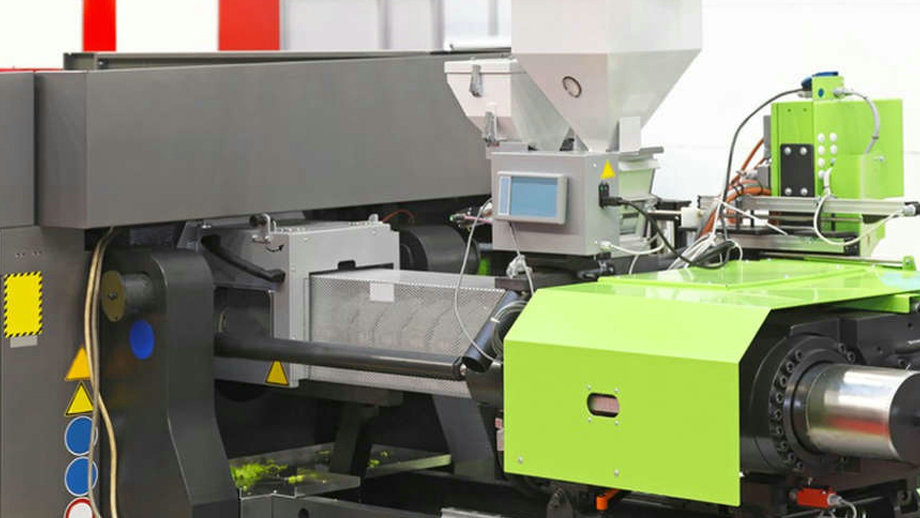
Are you curious about how the products you use every day are made? Injection molding is the most popular method used for producing plastic parts, and it involves a series of eight major steps. Understanding these steps can help you gain a better appreciation of the process and the products you use.
In this article, we will explore each of the eight major steps in the injection mold production process. We will discuss the purpose of each step, the tools and materials used, and any potential challenges that may arise. By the end of this article, you will have a better understanding of how injection molding works and how it can benefit your business.

Overview of the Injection Mold Production Process
Before we dive into the eight major steps, let’s take a brief look at the injection mold production process as a whole. Injection molding is a manufacturing process that involves injecting molten plastic into a mold cavity. The plastic then cools and solidifies, taking the shape of the mold. The finished product can then be removed from the mold and further processed or used as is.
The injection mold production process can be broken down into the following eight major steps:
Step 1: Clamping
The first step in the injection mold production process is clamping. This involves securely fastening the mold halves together so that they do not separate during the injection process. The clamping force required depends on the size and complexity of the mold and the material being used.
Step 2: Injection
The second step is injection. This involves heating the plastic material until it is molten and then injecting it into the mold cavity. The injection speed, pressure, and temperature must be carefully controlled to ensure that the plastic fills the cavity completely and uniformly.
Step 3: Dwelling
After the plastic has been injected into the mold cavity, it must be allowed to cool and solidify. This is known as dwelling, and it typically takes a few seconds. The length of time required depends on the thickness of the material and the temperature of the mold.
Step 4: Cooling
Once the plastic has solidified, it must be cooled to a temperature that allows it to be safely removed from the mold. Cooling is typically achieved by circulating water or air through the mold cavity.
Step 5: Ejection
After the plastic has cooled, the mold must be opened, and the finished product must be ejected. This is typically done using ejector pins, which push the product out of the mold cavity.
Step 6: Trimming
Once the product has been ejected, any excess material must be trimmed off. This is typically done using a trimming machine or by hand.
Step 7: Inspection
After the trimming process, the product must be inspected for defects, such as cracks, warping, or discoloration. Any defective products must be discarded, and the cause of the defect must be identified and corrected.
Step 8: Packaging
Finally, the finished product must be packaged and prepared for shipment. This typically involves placing the product in a protective container and labeling it with relevant information, such as the product name, batch number, and expiration date.
Conclusion

Injection molding is a complex process that involves multiple steps and requires careful attention to detail. By understanding each of the eight major steps in the injection mold production process, you can gain a better appreciation of the effort and skill required to create the products you use every day.
If you are interested in learning more about injection molding or are considering using this process for your business, contact JS Precision today. Our team of experts can help you navigate the injection mold production process and create high-quality products that meet your specific needs.
